A few weeks ago, we got some dairy goats.
 |
| Meet Eunice and Ginger |

Since Little Sister is allergic to most dairy, she has been missing out on some of the finer things in life, as we haven't had access to a consistent source of raw dairy. The greatest sacrifices have been ice cream and pizza. Over the last few years we have occasionally bartered with raw dairy producing friends for an spare lump of mozzarella, but those opportunities are few and far between. Hence the goat acquisition.
Now that we have more milk than we can drink in a week, I have been able to make the wonderful dairy confections my poor little girl has been missing out on all these years. And you won't believe how easy it is to make delicious goat milk mozzarella!*
 First, gather your supplies. For mozzarella, the only weird thing you'll need that you may not already have in your pantry is rennet. You can order it online or buy at specialty cheese making shops, which are becoming more and more commonplace these days. It comes in liquid or tablet form. I used the tablets.
- 1 gallon goat milk or cow milk (preferably raw, but definitely NOT high-heat pasteurized dairy)
- 1.5 gallon (non-aluminum) pot with a lid
- Colander
- Large bowl to pour the whey into when straining the cheese
- A long knife to cut the curd
- Thermometer
- Measuring cups
- Citric acid (available in the canning aisle)
- Slotted spoon
- Rennet
- Purified water (not tap water)
- Microwave safe bowl
- Rubber gloves

Put 1 1/2 tsp citric acid in the bottom of your pot. Add 1/4 cup purified water. Pour in 1 gallon of milk. Stir with slotted spoon to mix.

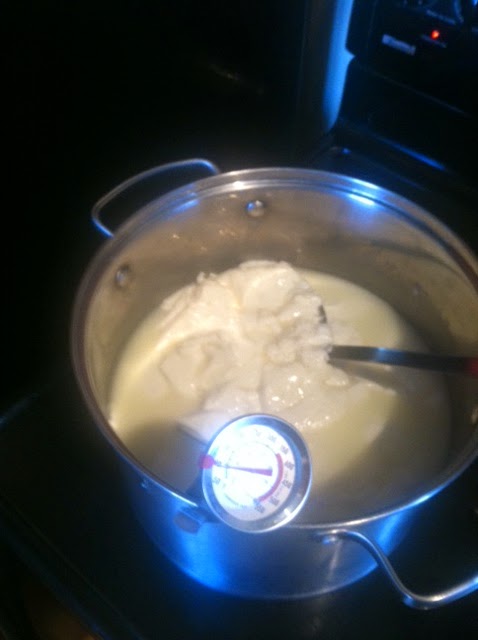
Warm milk over medium heat to 90 degrees. Remove from heat. Dissolve 1/4 rennet tablet in 1/4 cup water.

Pour rennet solution into warm milk and stir with slotted spoon in an up and down motion. Put the lid on and set timer for 5 minutes.

Remove lid and check curd. It should be slightly firm, like a custard.


Return curd and whey to heat. Heat to 110 degrees. You can stir the curd gently with your slotted spoon to get it to stick together.
Step 6:
Separate the curds from the whey. You can either spoon the curds into the colander, or you can pour the whole thing in to the colander, but watch for the splash! Roll the curds around in the colander over the bowl of whey to drain as much whey out as you can.

Transfer the curd to a microwave safe bowl. Microwave it for 60 seconds.**


A couple of final notes:
* The technique I shared is based on the recipe for mozzarella in Ricki Carroll's book Home Cheese Making, and there are dozens of similar recipes on the internet. Thank goodness for the homesteading pioneers that have made these recipes available for all of us dairy loving novices.
** For the anti-microwave purists, you can use a hot water bath to reheat your curd for kneading instead of using the microwave, but it is much harder to get all of the whey out, and your resulting cheese may be soft, more like "fresh mozzarella" which doesn't melt or grate well. When I finally found the microwave process, my cheese became consistently delicious so I highly recommend this technique.
No comments:
Post a Comment